Below is an example of a subdiv proxy. Here we half a sphere and use Proxy->Subdiv Proxy to make a smoothed mirror image. By manipulating the vertices on the original half we can also change the positions of the vertices on the smoothed mirror image.

Below is an example of smoothing. By selecting Mesh->Smooth you can choose how many subdivisions you want.

We experimented with smoothing meshs in Maya by subdivision. We then used another smoothing method called Subdivision Proxy, which creates a smoothed version of the low-poly mesh you're working on, which updates when you edit it's vertices.
We then created a simple coke bottle, by extruding faces from a cylinder and scaling their vertices, and applied a coke bottle texture to it. This required some simple editing of the bottle mesh's UVs, so that the texture would be applied properly.
 Above is the texture map we created. In the UV texture editor window (in UV mode). Select all the UVs and then UV snapshot from the Polygon menu. This will output the image and you can then simply draw on it. The blockiness of texture here is because the image we output was quite a low resolution. To apply the texture right click the object and select Assign new material. Then we chose blinn. From the side menu bar choose color->file and select the image.
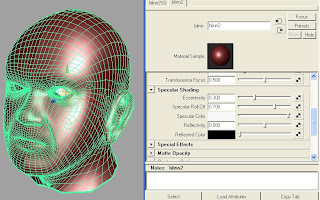
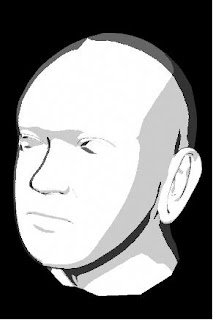
 Above is the UV map for the head. We chose spherical mapping from the Create UV menu so that it would unwrap the head as if it were a sphere. Below is a toon rendering of the head done by selecting the object, then selecting the toon tab and picking a style and finally rendering.


